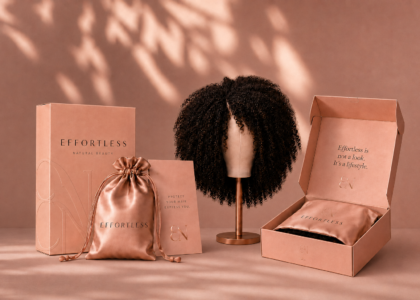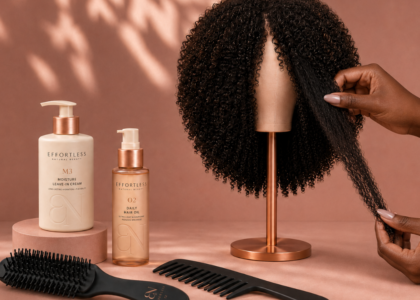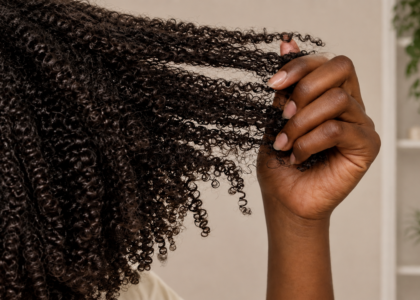

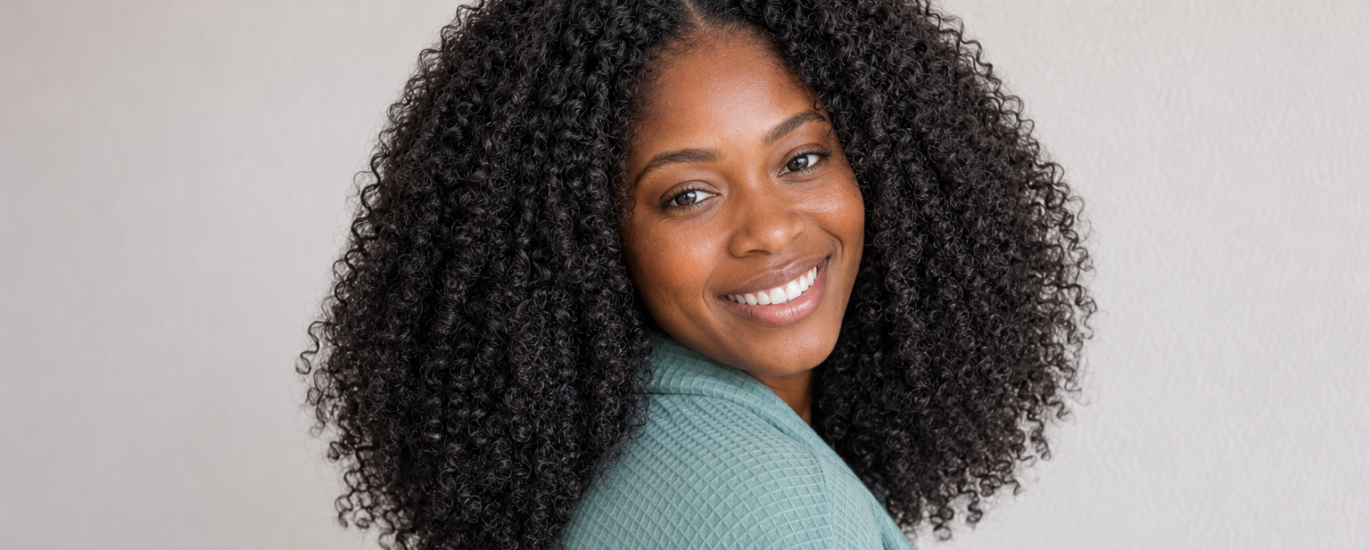
A half wig gives you the freedom to change your texture, length or volume while keeping part of your own hair visible. Depending on the construction, that visible section may form a U-shaped part, a narrow V-shaped opening or a flexible flip-over area.
The exact sectioning changes with the wig, but the basic method remains the same:
Prepare the hair beneath, preserve the right amount of leave-out, secure the wig, then blend the two textures carefully.
U-part and V-part wigs are often recommended as approachable options for newer wig wearers because they allow a portion of the natural hair to remain visible while avoiding the lace application required by many full wigs.
Before You Begin
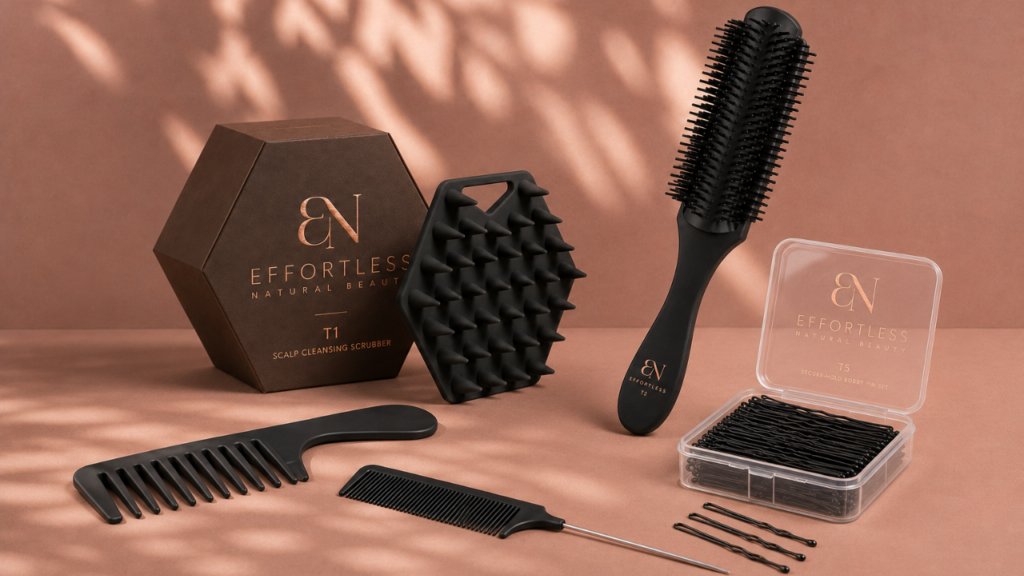
You may need:
- A rat-tail comb
- Hair clips
- A few hair ties
- A wig cap, if desired
- Your half wig
- A wide-tooth comb or detangling brush
- Light gel, mousse or styling cream
- Bobby pins, if your unit needs additional support
Begin with clean, detangled hair and a scalp that feels comfortable. Your foundation should lie relatively flat, but it should never feel painful or excessively tight. Repeated pulling can contribute to traction alopecia, particularly around the hairline, and dermatologists advise loosening or removing any style that causes pain or irritation.
Step 1: Decide Where Your Hair Will Show
Before braiding, place the wig lightly over your head or examine its opening so you can see exactly where your own hair needs to remain available.
For a U-Part Wig
Leave out a U-shaped section that follows the opening of the wig. This usually includes enough hair to create a visible part and cover the edges of the unit on both sides.
For a V-Part Wig
Leave out a narrower section that follows the V-shaped opening. Because the opening is smaller, a V-part wig generally requires less visible hair than a U-part wig. Many installation guides recommend creating the leave-out first, then braiding the remaining hair beneath the unit.
For a Flip-Over Wig
Leave out a flexible section near the front or crown, depending on where you want the hair to fall. Rather than creating one fixed, defined part, the hair is arranged so it can move from one side to another.
This gives you a softer, more versatile finish. You may wear it swept to the left, swept to the right or allowed to fall without a prominent part.
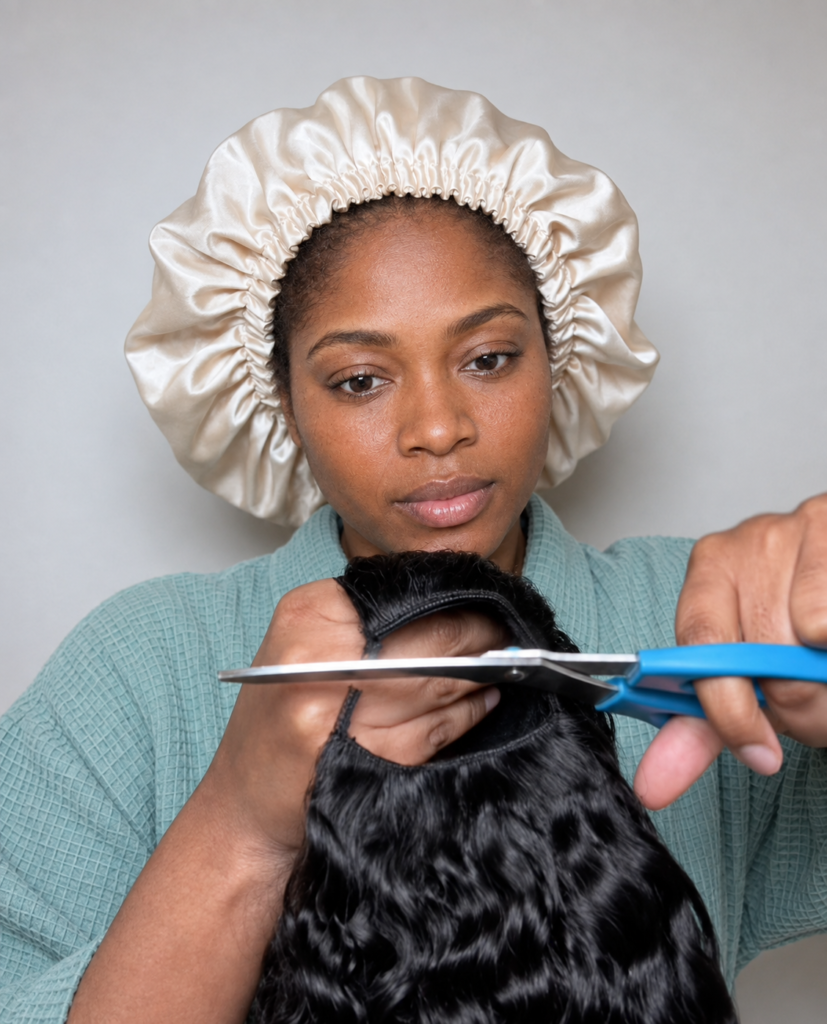
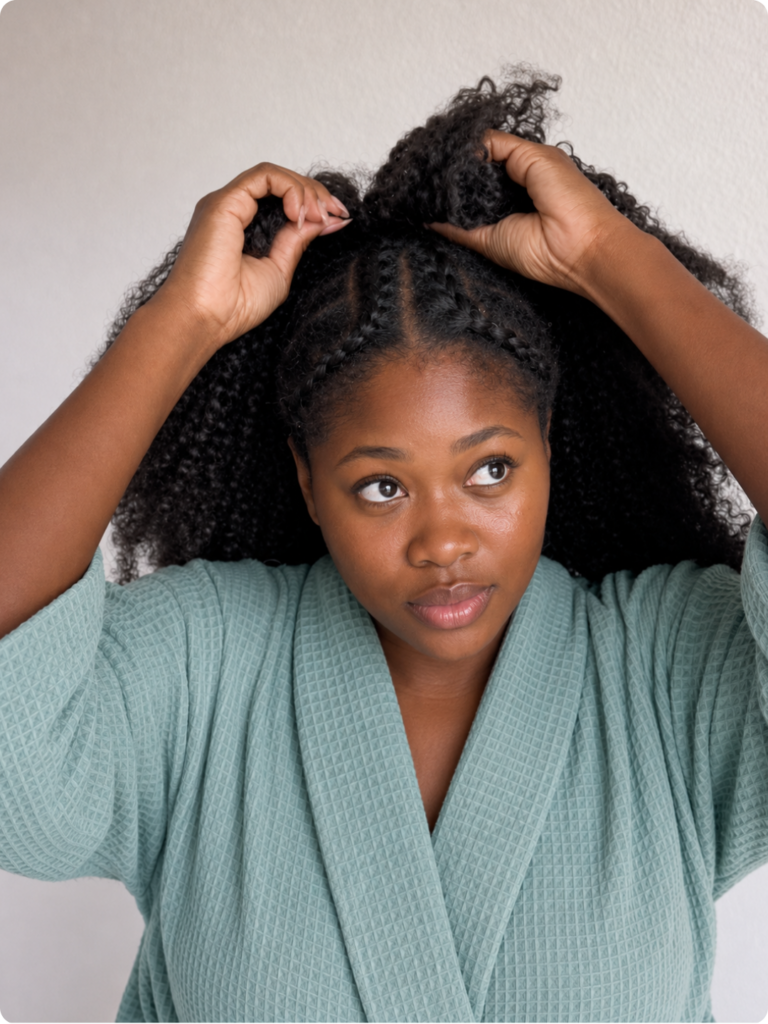
Step 2: Separate and Temporarily Twist the Leave-Out
Once you have identified the visible section, separate it cleanly from the rest of your hair.
Lightly twist or braid the leave-out and secure it with a clip. This keeps it out of the way while you prepare the foundation and helps prevent it from being accidentally braided underneath the wig.
Do not make the temporary twist too tight. Its only purpose is to hold the section safely until the wig has been installed.
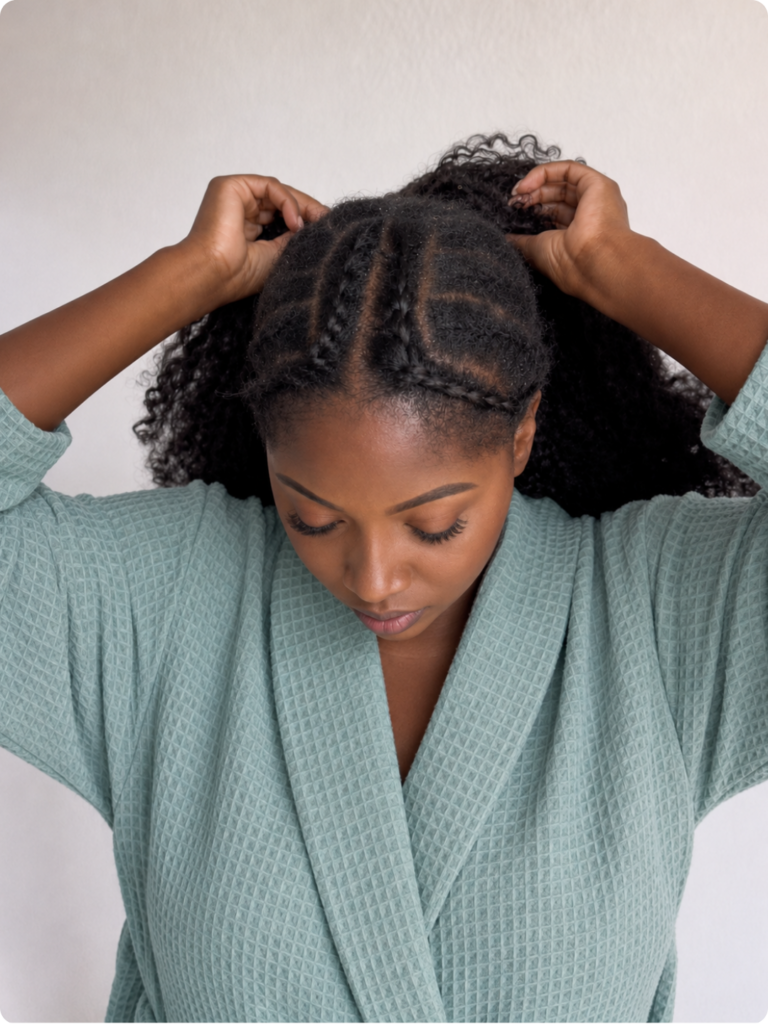
Step 3: Braid the Hair Beneath the Wig
Braid or plait the remaining hair into a flat, comfortable foundation.
The braid pattern does not need to be elaborate. Its purpose is to:
- keep the natural hair contained;
- reduce bulk beneath the wig;
- give the wig clips or combs a stable place to sit;
- create a smooth overall shape.
Cornrows running toward the back often work well, but the best pattern depends on your density, head shape and the placement of the wig’s clips.
Keep the braids secure but gentle, particularly around the edges. Pain is not evidence that the wig will hold better. Tight braids, weaves and extensions can place repeated stress on the follicles and hairline.
Step 4: Put On the Wig
Loosen the adjustable straps before placing the unit on your head. This gives you room to position it correctly before tightening anything.
Starting from the back:
- Position the rear of the wig securely.
- Bring the unit forward over the braided foundation.
- Align its opening with the section of hair you left out.
- Attach the internal clips or combs carefully.
- Adjust the straps until the wig feels secure but comfortable.
For a U-part or V-part wig, the opening should sit directly beneath the intended parting. For a flip-over wig, position the front of the unit close enough to the leave-out that the two textures can meet without exposing the wig construction.
Shake your head gently and check that the unit feels stable. Add a bobby pin only where additional support is genuinely needed.
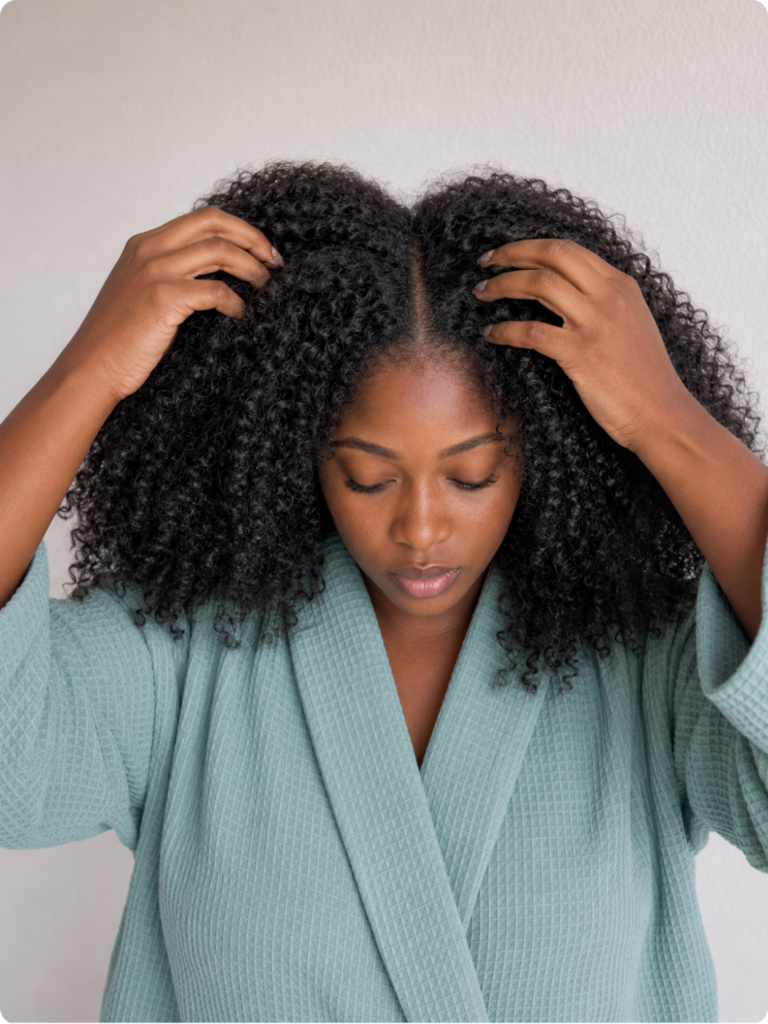
Step 5: Release the Leave-Out
Untwist the section you separated earlier and allow it to fall over the opening and upper edge of the wig.
Do not begin with heavy styling. First, use your fingers to arrange the hair and see how naturally the textures meet.
For a U-part, create the part inside the U-shaped opening and spread the leave-out across both sides.
For a V-part, allow the smaller section to cover the narrow opening and soften the visible part.
For a flip-over, guide the leave-out in the direction you want the finished style to fall. The goal is movement rather than a sharply defined part.
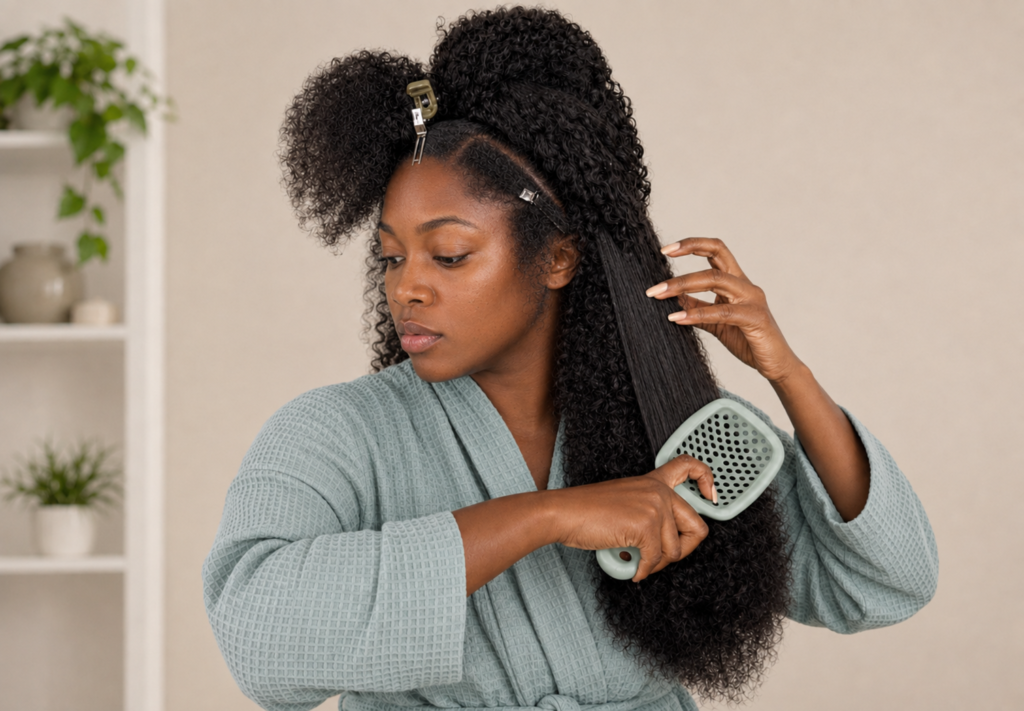
Step 6: Blend the Textures
Blending should not mean forcing your own hair into a completely different identity.
The easiest installations usually begin with a wig texture that already resembles the natural hair or can meet it with minimal manipulation.
Depending on the finish you want, you may:
- finger-coil small sections;
- lightly twist the leave-out;
- braid it briefly for added texture;
- apply a small amount of mousse or styling cream;
- use gel selectively near the part or roots;
- gently brush the leave-out into the wig.
Work in small sections rather than placing a large amount of product over the entire area.
For curly or coily textures, water and a light styling product may be enough to bring the leave-out and wig together. For straighter finishes, use heat only when necessary and apply an appropriate thermal-protection product first.
The objective is not perfect uniformity. A little variation can make the result look more natural.
Step 7: Shape the Finished Style
Once the leave-out is blended, shape the wig around your face.
For a U-part or V-part wig, refine the part with the end of a rat-tail comb and gently cover any visible clips or seams.
For a flip-over wig, lift the roots lightly with your fingers and move the hair from side to side until it falls naturally. The defining feature of the style is its freedom: it should not look locked into one rigid part.
Check the back and sides in a second mirror before finishing.
U-Part, V-Part or Flip-Over?
U-Part Wig
Choose a U-part when you want a fuller, more traditional visible part and have enough leave-out to cover the wider opening.
V-Part Wig
Choose a V-part when you want a narrower opening and a smaller amount of leave-out. It can offer the effect of a natural part with less of your hair exposed.
Flip-Over Wig
Choose a flip-over when you want volume, movement and the ability to change the direction of the style without recreating a precise part.
Protect the Experience, Not Just the Style
At Effortless Natural, we think of this as Creative Styling.
The wig gives you the freedom to explore a different shape, texture or length. The care practice beneath it supports the health of your own hair.
That means:
- keeping the foundation comfortable;
- avoiding unnecessary tension;
- caring for the leave-out rather than repeatedly forcing it to match;
- maintaining access to your scalp;
- removing the wig carefully;
- continuing to cleanse, condition and nurture the hair beneath.
A style can give your hair a rest from daily manipulation, but no wig is automatically healthy simply because it covers part of the hair. The installation, tension, maintenance and removal all matter.
Nurture the hair. Create the look. Retain what matters.
Find Your Half Wig
Explore U-part, V-part and flip-over constructions designed for flexible, creative styling.